Learn how to properly assemble, position, and maintain your Century Wavemaster freestanding martial arts bag. Our complete setup guide covers installation, base filling, height adjustment, and training tips for maximum performance.
Transform Your Home Training: The Complete Century Wavemaster Setup Guide
Over 70% of martial artists training at home cite space constraints as their biggest challenge. Whether you're squeezing a training area into a small apartment or maximizing a garage gym, traditional heavy bags simply don't cut it. That's where the Century Wavemaster freestanding martial arts bag changes everything—no ceiling mounts, no permanent damage, just pure training convenience.
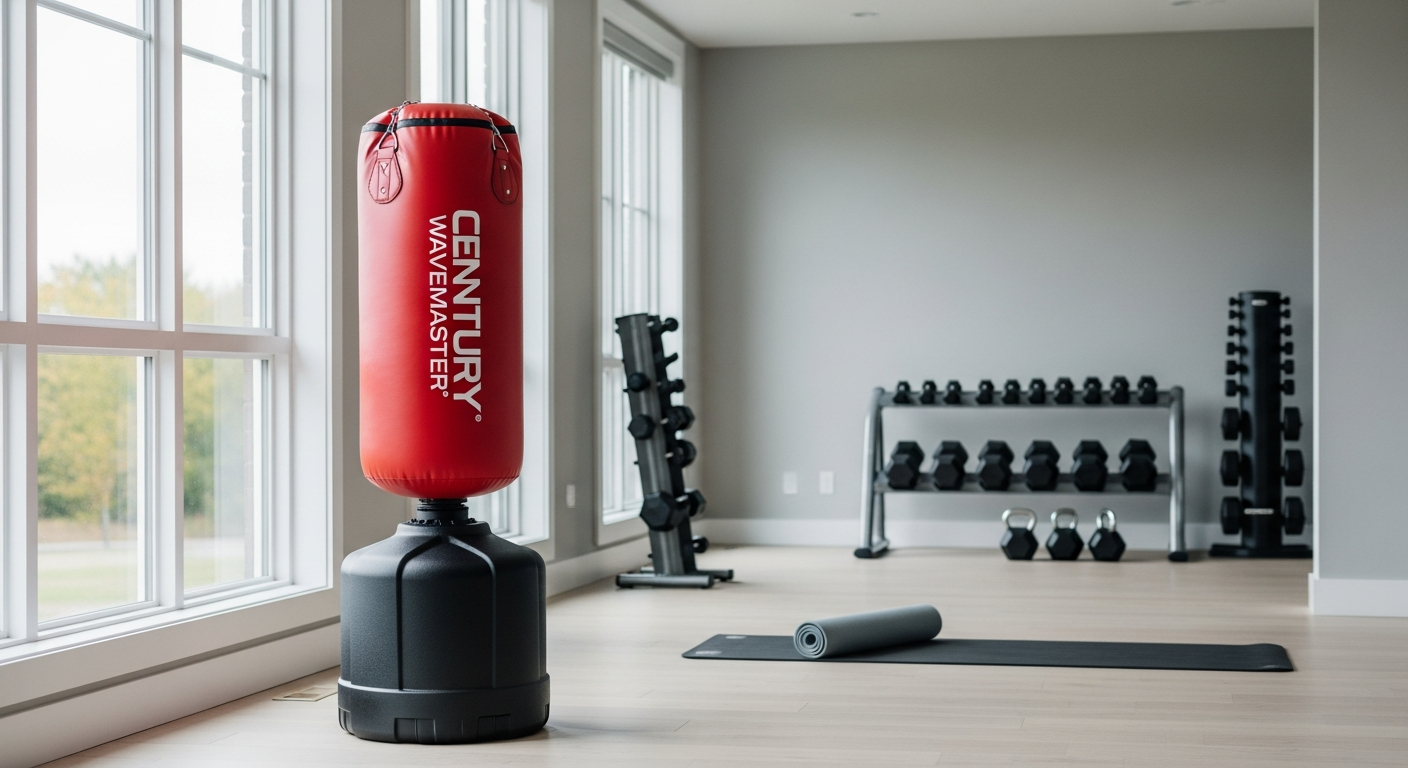
Since its debut as the first-ever freestanding training bag, the Century Wavemaster has become an industry standard for home martial arts training. Countless practitioners have transformed their training routines with this versatile tool, which works seamlessly for kickboxing, Taekwondo, karate, and mixed martial arts. The bag's high-density foam striking surface covered in durable vinyl, combined with its eight adjustable height settings, makes it adaptable for everyone from beginners to advanced fighters.
Ready to bring this game-changing equipment into your home gym? Check out the Century Wavemaster and transform your training space today.
Unboxing and Initial Assembly of Your Century Wavemaster
What Comes in the Box and What to Inspect Before Assembly
Your Century Wavemaster arrives in a well-packaged shipment containing the striking column, base unit, and all necessary hardware. Begin by inspecting every component for shipping damage. The foam striking surface should show no cracks or compression marks, and the vinyl cover should be intact without punctures or tears. Check the plastic base for any stress fractures or irregularities that might affect stability once filled.
Tools and Materials Needed (Minimal Setup Required)
The beauty of the Wavemaster is its simplicity. You'll need minimal tools: a wrench or adjustable wrench for securing the column to the base, and possibly a rubber mallet if connection points are particularly tight. Gather your filler material (sand or water) in advance, along with a funnel if using sand. Keep a damp cloth nearby for cleaning any debris during assembly.
Step-by-Step Assembly Instructions for the Striking Column
Start by positioning your base unit on a clean, flat surface where you plan to use the bag. Insert the striking column into the central opening of the base, ensuring it's fully seated. The column should fit snugly without forcing—if resistance occurs, check alignment and try again. Once positioned, secure the column using the provided bolts, tightening them in a cross pattern (opposite sides alternately) to ensure even pressure.
Connecting the Base Unit to the Main Bag Structure
The high-density foam striking surface attaches to the column through a secure fixture at the top. Align the bag's mounting bracket with the column's connection point and slide it into place until it locks. Verify the bag sits evenly on the column without tilting or leaning. Rotate the bag slightly to ensure smooth movement before proceeding.
Safety Checks Before Your First Training Session
Test the column stability by applying moderate pressure from multiple angles. The bag should resist movement without wobbling excessively. Check all bolts and connections one final time, ensuring nothing has loosened during assembly. Verify that the base unit is level using a standard level tool, adjusting placement if necessary.
Preparing and Filling the Weighted Base
Understanding Sand Versus Water Filling Options
Both sand and water provide effective ballast, each with distinct advantages. Sand offers superior density, packing tighter and reducing the likelihood of bag movement during aggressive striking. Water provides convenience—it's readily available and easier to adjust. Consider your training intensity: heavy strikers benefit from sand's stability, while casual practitioners may prefer water's simplicity.
Sand Filling: Density Benefits and Containment Considerations
Sand delivers approximately 100 pounds per cubic foot, meaning you'll need roughly 2.7 cubic feet to reach maximum capacity of 270 pounds. Purchase play sand or utility sand from hardware stores—avoid beach sand due to salt content and moisture. Use a funnel to prevent spills, and fill in layers of 50 pounds, checking balance and settling between additions. Sand may shift slightly during use, so plan to check and redistribute every few months.
Water Filling: Convenience Factors and Weight Distribution
Water weighs about 8.34 pounds per gallon, requiring roughly 32 gallons for near-maximum weight. Fill using a garden hose, inserting it directly into the base opening or using a funnel for slower, controlled addition. Water distributes evenly and requires minimal maintenance. Monitor for algae growth in warm climates by adding a small amount of bleach, or simply drain and refill annually.
Calculating the Right Amount of Filler for Your Needs
You don't need to fill to maximum capacity for effective training. A 150-pound base provides excellent stability for most strikers, reducing base movement while keeping the equipment lighter for repositioning. Experiment with your preferred weight by starting at 120 pounds and adding 30-pound increments until you achieve the desired response.
Base Capacity and Maximum Weight Specifications (Up to 270 lbs)
The plastic base reaches maximum capacity at approximately 270 pounds of filler. Exceeding this weight risks structural failure and voids any warranty. The rounded design allows tipping and rolling the base when partially filled, making relocation manageable for solo trainers even when weighted.
Adjusting Height Settings for Your Training Style
The Eight Adjustable Height Positions Explained (47" to 68")
The Wavemaster's eight height settings range from 47 inches at the lowest to 68 inches at the highest, providing seven inches of vertical adjustment. Each position locks securely into place, preventing drift during training. Position markings on the column indicate each setting clearly. The lowest setting suits very short practitioners or ground-level drills, while the highest accommodates taller athletes and overhead striking practice.
Low Kick Practice: Optimal Heights for Leg Strike Training
Set the bag to 47-50 inches for low kick specialization. This height positions the striking surface at shin and knee level, allowing full development of devastating leg techniques. Your feet should remain on the ground during full rotational kicks, with the bag meeting your shin or the ball of your foot at a natural impact angle. Maintain this setting for several weeks if building leg power is your priority.
Mid-Level Striking: Body Shot Positioning and Angles
Position the bag at 55-58 inches for body-focused training. This height aligns the striking surface with your solar plexus and ribs, ideal for developing punching combinations and elbow strikes. Your fists naturally fall into this zone during standing combinations, making it excellent for general conditioning work.
Head-Level Punching: Upper Body Workout Configurations
The 65-68 inch range places the bag at face and head height, perfect for practicing upper cuts, straight punches, and head-movement drills. This setting demands greater shoulder engagement and cardio intensity, as you're striking higher and working larger muscle groups. Rotate between low, mid, and high settings within a single session to develop well-rounded striking skills.
Optimal Placement and Space Requirements
Minimum Clearance Needed Around the Bag for Safe Training
Allow at least 6 feet in front of the bag for forward-moving combinations and 3 feet on each side for rotational kicks. Behind the bag, maintain 4 feet to prevent striking a wall or equipment during pivoting movements. This 6×10 foot minimum space prevents collisions and allows natural footwork development.
Floor Surface Considerations for Stability and Safety
Concrete, hardwood, and rubber flooring all work well. Avoid loose or carpeted surfaces that create friction and movement. If training on carpet, place a plywood sheet or rubber mat under the base to create a stable platform. Ensure the floor is level—sloping surfaces cause the bag to shift during training.
Positioning Near Walls Versus Open Floor Placement
Open floor placement is preferable, as it permits full range of motion and visibility from multiple angles. If wall placement is necessary, position the bag at least 3 feet from the wall to allow kicking and punching without striking behind the bag. This creates a safer training environment and prevents wall damage.
Lighting Setup for Proper Form Visibility
Adequate lighting prevents form deterioration and reduces injury risk. Position lighting sources above and slightly in front of the bag, avoiding shadows that mask your striking area. This setup allows you to observe your technique in mirrors positioned strategically around your training space.
Maintenance Routines That Extend Your Bag's Lifespan
Regular Cleaning of the Vinyl Surface
Wipe down the vinyl covering after each session using a damp cloth, removing sweat, chalk, and dust. This prevents buildup that accelerates material degradation. Monthly deeper cleaning with mild soap and water keeps the surface fresh and extends durability significantly.
Inspecting for Wear and Tear on High-Impact Zones
Examine the striking surface regularly for cracks, punctures, or vinyl separation. High-impact areas develop wear patterns first—these zones signal where your technique may need adjustment or where glove protection should be prioritized. Early detection of damage prevents internal foam degradation.
Checking Base Integrity and Filler Levels
Monthly inspections of the plastic base catch developing cracks before they become catastrophic. Sand-filled bases should be redistributed quarterly if settling is apparent. Water-filled bases require occasional level checks and topping off due to minor evaporation.
Protecting Against UV Damage and Weather Exposure
If your training space has windows or outdoor exposure, UV rays degrade vinyl over time. Position the bag away from direct sunlight or use window coverings during peak hours. For outdoor training, move the bag indoors or cover it with a protective tarp when not in use.
Training Techniques Optimized for Freestanding Design
How the Wavemaster's Movement Differs from Hanging Bags
A freestanding bag moves independently, responding to strike angle and force rather than recoiling predictably like a hanging bag. This responsiveness demands greater precision—sloppy technique produces exaggerated movement, providing immediate feedback. The bag doesn't swing wildly unless struck with extreme force, making it ideal for controlled technique development.
Adapting Your Striking Form for Independent Bag Response
Focus on strike alignment and follow-through rather than recoil management. Your fist should travel straight through the target, not rely on bag swing for power. This adaptation builds cleaner technique and more explosive strikes, as you're not dependent on equipment momentum. Many fighters report improved accuracy when transitioning from hanging bags to the Wavemaster.
Developing Better Accuracy with Responsive Feedback
The Wavemaster's independent movement makes target precision obvious. Each strike produces immediate visual feedback—center shots move the bag straight back, angled strikes cause tilting motion. This responsiveness builds muscle memory for accuracy faster than traditional bags, as off-center strikes are visually apparent.
Combining Speed and Power Work on a Freestanding Platform
Speed drills benefit from the Wavemaster's stable platform. Rapid combinations don't generate chaotic bag movement, allowing you to focus on hand speed and footwork coordination. For power development, controlled heavy strikes build devastating force through proper mechanics rather than wild haymakers. Rotate between 30-second speed drills and 10-second power shots, resting 20 seconds between rounds.
Your Complete Wavemaster Training Station Awaits
Setting up your Century Wavemaster freestanding martial arts bag represents a pivotal moment in your home training journey. The process is straightforward, the results are transformative, and the long-term value speaks for itself. Your next step is simple: gather your materials, follow the assembly sequence, and prepare your training space with intention.
Whether you're a kickboxing enthusiast, a karate student, or a mixed martial artist, the Wavemaster adapts to your needs with eight height adjustments and reliable stability. Start with the basics—fill that base correctly, adjust the height for your primary training focus, and give yourself space to move. Then, lace up your gloves, wrap your hands, and experience why the Century Wavemaster remains the gold standard for home martial arts training.
The equipment is ready. Your space is prepared. The only thing standing between you and superior striking technique is the decision to begin. Order your Century Wavemaster now and start building your dream home training setup.